 License: 1143915
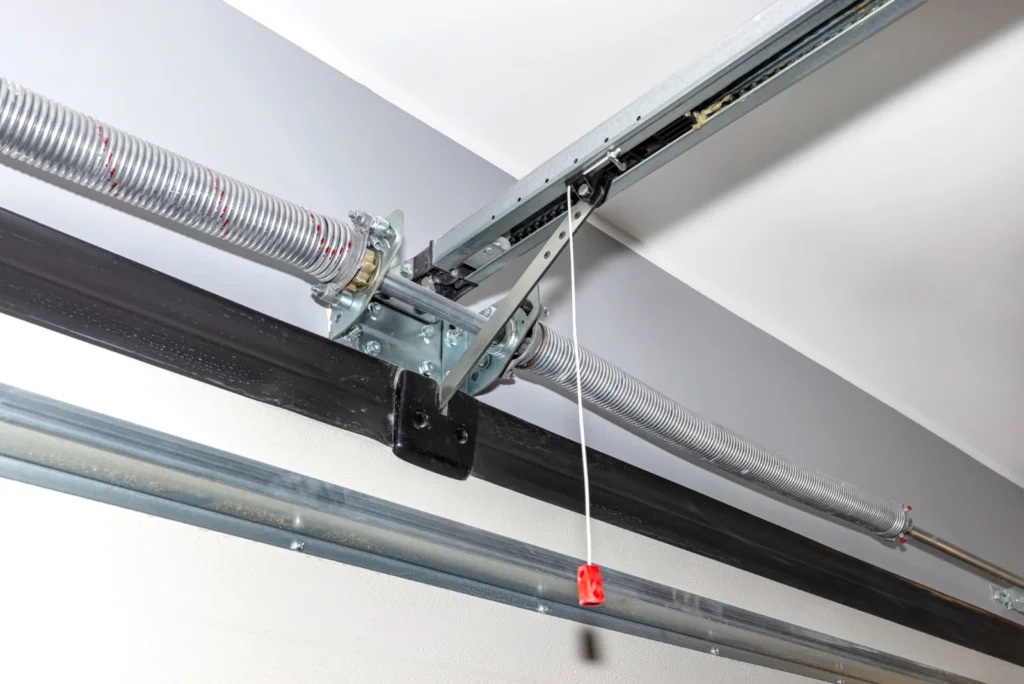
How to Wind a Garage Door Torsion Spring (Turns & Tension Guide)
How torsion spring winding works, how many turns your door needs, how to set the tension safely, and when to call a pro.
Quick Answer
Winding a garage door torsion spring means twisting stored energy into it with two steel winding bars so it counterbalances the door. Most 7-foot doors need about 7.5–8 full turns (roughly four turns per foot of door height), then fine-tuned by testing balance. It is the most dangerous step in any spring job — a slipped bar can cause serious injury, so most homeowners should hire a licensed technician.
Winding a garage door torsion spring is the most dangerous step in any spring job. If you searched how to wind a garage door torsion spring, this guide explains exactly how the winding process works, how many turns your spring needs, how to adjust the tension so the door balances, and the safety rules that keep winding bars from becoming projectiles. A torsion spring stores enough energy to break bones, so read the safety section before you put a bar in the cone.
What “Winding” a Torsion Spring Actually Means
A garage door torsion spring sits on a shaft above the door. When you wind the spring, you twist stored energy into it; when the door opens, the spring unwinds and that energy lifts the door. The number of turns you wind into the spring sets how much lifting force it provides. Too few turns and the door will not open or stay up; too many and the door flies up and slams the top. Correct winding is what makes the door balanced, quiet, and easy on the opener.
Serious hazard: A fully wound torsion spring holds tremendous force. A slipped winding bar can whip across the garage and cause severe injury. Never use screwdrivers, and never put your face or body in line with the bars. If you are not fully confident, hire a licensed technician — One Stop Garage Doors & Gates winds and replaces springs safely every day. Call 650-910-6090.
How Many Turns Does a Garage Door Torsion Spring Need?
The turn count depends on the height of your door, because taller doors travel farther and need more stored energy. The rule of thumb professionals use is roughly four full turns per foot of door height, then fine-tuned by balance:
| Door Height | Approximate Turns |
|---|---|
| 7-foot door | 7.5 – 8 full turns (about 30–32 quarter-turns) |
| 8-foot door | 8.5 – 9 full turns |
| 10-foot door | 10.5 – 11 full turns |
These are starting points. After you reach the turn count, you always confirm by testing the door’s balance and adjust up or down a quarter-turn at a time. The spring’s own specs (from the manufacturer or supplier) override the rule of thumb.
Tools You Need to Wind a Torsion Spring
- Two solid steel winding bars sized to the winding cone holes — the single most important safety item
- A wrench or socket for the set screws on the winding cone
- Locking pliers (C-clamps) to secure the door in the tracks
- A stable ladder, safety glasses, and gloves
- A tape measure to mark the shaft (so you can count turns accurately)
How to Wind a Garage Door Torsion Spring Step by Step
This describes the professional winding process so you understand the job. Proceed only with proper winding bars and full attention.
- Secure the door and confirm the spring is mounted. Close the door, clamp locking pliers on the track above a roller so the door cannot rise, and make sure the new spring, drums, and cables are installed and the cables are snug.
- Insert the first winding bar fully. Put a winding bar all the way into a hole in the winding cone. Keep a firm grip; the spring will start to load as soon as you lift the bar.
- Wind up in quarter-turns. Raise the bar to about the 3 o’clock or 12 o’clock position, insert the second bar in the next hole, hold the tension, and remove the first bar. Repeat hand over hand, counting each quarter-turn. Never let go of a loaded bar.
- Reach the target turn count. Continue until you hit the turns for your door height. On most 7-foot doors this is about 30 to 32 quarter-turns.
- Stretch the spring and set the screws. With the spring wound, use a bar to push the winding cone about a quarter-inch out along the shaft (to account for the spring growing), then tighten both set screws firmly onto the shaft — not on the seam. Give each screw an extra half-turn past first contact.
- Remove the clamps and test balance. Unclamp the track and lift the door by hand to waist height. A correctly wound door stays put. If it drifts down, add a quarter-turn; if it flies up, remove a quarter-turn.
- Reconnect the opener and cycle the door. Reconnect the opener, run the door several times, and watch that it opens smoothly and closes without slamming.
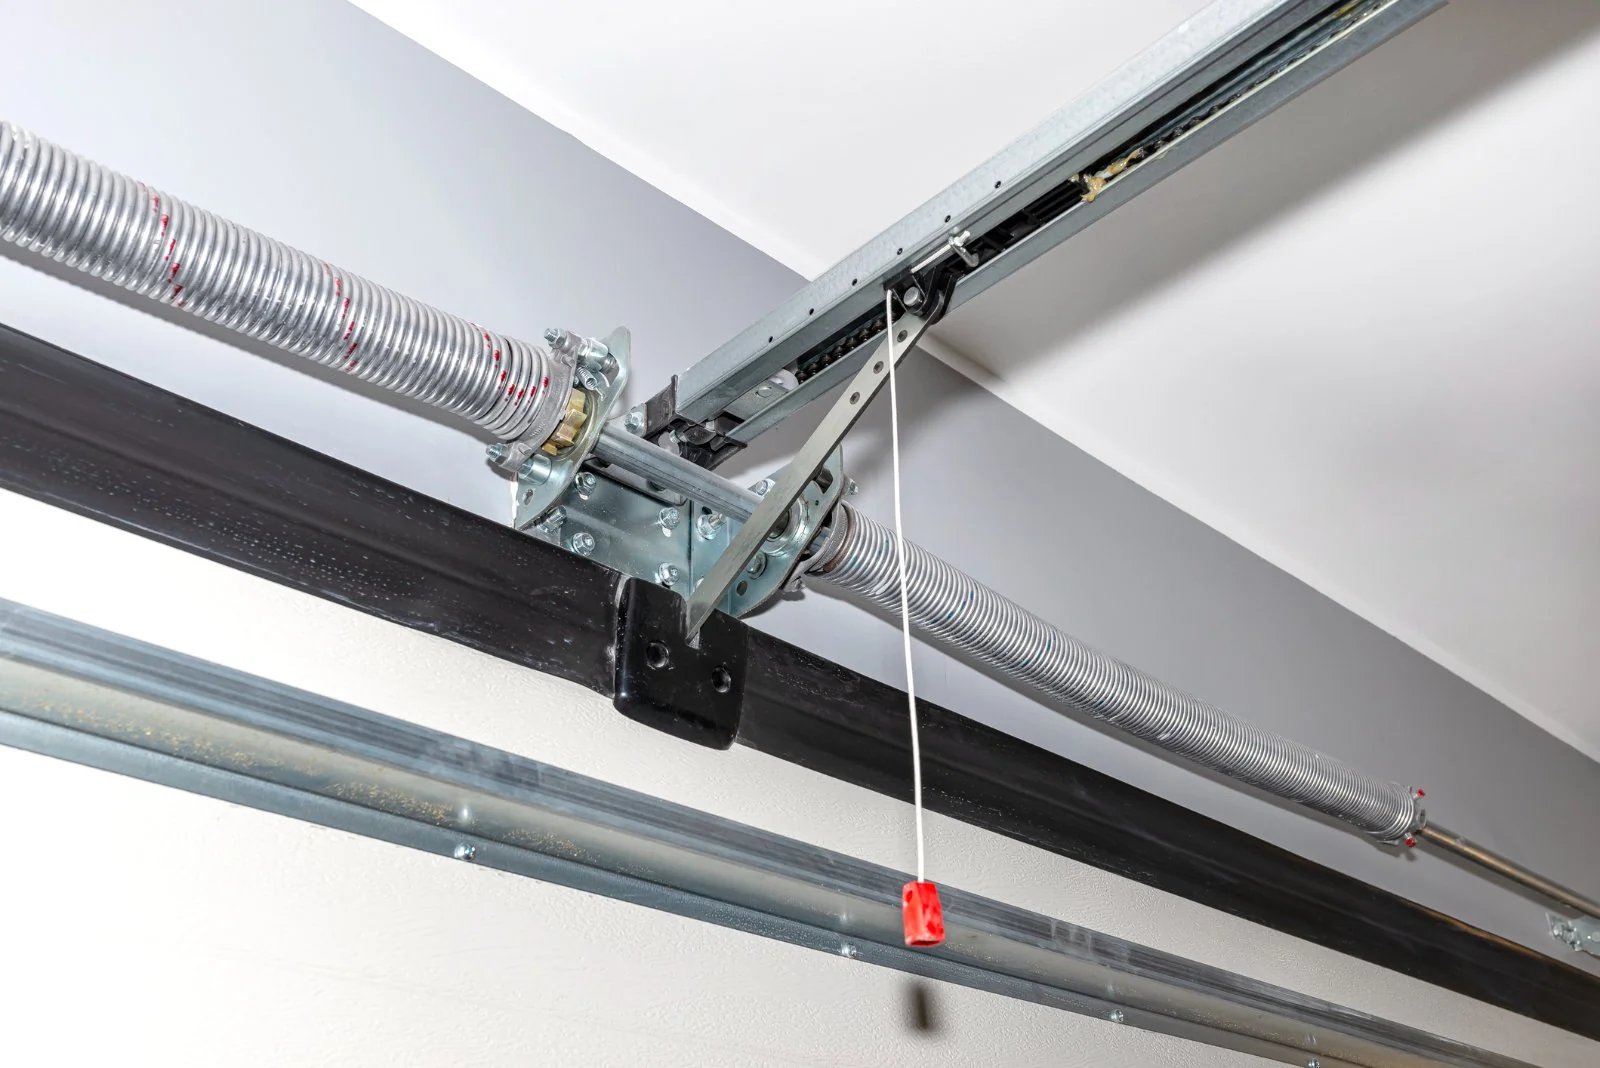
How to Adjust Torsion Spring Tension
If your existing door is a little heavy or a little springy, you can adjust the tension without replacing the spring — the process is the same winding technique, just adding or removing a quarter-turn:
- Door won’t stay open or feels heavy: the spring needs more tension. Add a quarter-turn at a time and re-test balance.
- Door flies open or slams the top: the spring has too much tension. Carefully remove a quarter-turn.
- One side drags: that is usually a cable or drum issue, not winding — check the cable tension on each drum.
Winding vs Adjusting vs Replacing a Spring
These three jobs get confused, but they are different. Winding is twisting tension into a spring that is already installed — the step covered in this guide. Adjusting is adding or removing a quarter-turn on an already-wound spring to fine-tune a door that is slightly heavy or springy. Replacing is removing a broken or worn spring and installing a new one, which always ends with winding the new spring. If your spring is intact but the door balance is a little off, you only need to adjust. If the spring has a gap or the door will not balance at any turn count, winding will not help and the spring needs to be replaced.
How Torsion Springs Compare to Extension Springs
Only torsion springs are wound with bars. Extension springs — the long springs that run along the horizontal tracks on lighter doors — are not wound; their tension is set by which hole or S-hook the spring hangs from and by the lift-cable adjustment. So if your door has springs above the tracks rather than a bar across the top, you are adjusting hook position and cable tension, not winding a cone. Torsion systems are more common on modern and heavier doors, last longer, and give smoother, more controlled travel, which is why many homeowners upgrade from extension to torsion when it is time to replace worn springs.
Maintenance After Winding
Once the spring is wound and balanced, a little upkeep protects your work. Lubricate the torsion spring, bearings, and cables with a garage-door-specific lubricant twice a year so the coils move freely and do not squeal. Keep the door balanced — re-test by hand every few months — and listen for grinding or jerky travel, which signals a cable, roller, or bearing wearing out. A wound spring on a balanced, lubricated door reaches its full cycle life instead of failing early.
Common Winding Mistakes to Avoid
- Using screwdrivers or undersized bars. They can slip out of the cone under load — the top cause of winding injuries.
- Winding the wrong direction. The spring must be wound so the door lifts, not lowers. Left and right springs wind opposite ways.
- Forgetting to stretch the cone before setting screws. Skipping this makes the spring bind and shortens its life.
- Not testing balance. The turn count is a starting point; balance is the real target.
Single-Spring vs Dual-Spring Doors
How you wind depends on how many springs your door has. A single-spring system uses one larger torsion spring centered on the shaft, and all the winding tension is in that one spring. A dual-spring system splits the load across a left-wound and a right-wound spring on either side of the center bracket. Dual-spring doors are safer overall — if one spring breaks, the second still carries part of the load so the door does not crash down — and each spring is wound separately to the same turn count. If you have a single-spring door and it keeps breaking, upgrading to a matched dual-spring setup is worth asking a technician about, because it spreads the wear and usually lasts longer.
How to Test That Your Spring Is Wound Correctly
The turn count gets you close, but the balance test is how you confirm the winding is right. With the opener disconnected and the door closed, lift the door slowly by hand:
- Lift to knee height and let go. The door should hold roughly in place, maybe drift slightly. If it slams down, the spring is under-wound.
- Lift to waist height and let go. A balanced door stays put here. This is the most important checkpoint.
- Lift fully open. The door should stay open on its own. If it pushes up hard or bounces, the spring is over-wound.
- Adjust a quarter-turn at a time. Re-clamp the door, add or remove a quarter-turn, and re-test until the door balances at waist height.
A properly wound and balanced door feels almost weightless by hand and puts almost no strain on the opener. That balance is what makes the springs, cables, and opener all last longer.
When Winding Won’t Fix It — Signs You Need a New Spring
Sometimes a door will not balance no matter how you adjust the winding, and that means the spring itself is worn out or the wrong size. Watch for these signs:
- A visible gap in the coil. A broken spring cannot be wound back into service — it must be replaced.
- The door won’t balance at any turn count. A fatigued spring loses its rated force, so it can be at full turns and still feel heavy.
- Rust or gaps between coils. Rust accelerates metal fatigue and the spring is near the end of its life.
- The spring is past ~10,000 cycles. That is about 7 to 12 years of normal use; older springs should be replaced rather than re-wound.
If any of these apply, winding is only a temporary fix — the spring needs to be swapped for a correctly-sized new one, and on a two-spring door both should be replaced together.
When to Call a Professional
Winding a torsion spring is the step where most DIY spring jobs go wrong. If you do not have proper winding bars, if the door has two springs, if the cables are also worn, or if you are at all unsure, hire a licensed technician. A pro winds the spring to the correct turns, sets the tension by balance, checks the cables and drums, and tests the opener safety — usually in under an hour. Our team handles torsion spring winding and full garage door spring replacement in San Jose, Santa Clara, and across the South Bay. For the complete replacement process, see our guide on how to replace a garage door spring.
Torsion Spring Winding Is High-Risk — Let Us Handle It
One Stop Garage Doors & Gates winds, adjusts, and replaces garage door springs safely across the South Bay. Same-day service, upfront pricing, licensed and insured.
Call 650-910-6090How many turns to wind a garage door spring?
About four full turns per foot of door height. A 7-foot door needs roughly 7.5 to 8 full turns (30–32 quarter-turns), an 8-foot door about 8.5 to 9. Always confirm by testing that the door balances and stays open halfway.
Which way do you wind a garage door torsion spring?
You wind it so the door lifts. Left-wound and right-wound springs turn opposite directions, and the winding is done from underneath moving up. Winding the wrong way will not hold the door.
Can I wind a torsion spring with a screwdriver?
No. Screwdrivers can slip out of the winding cone under load and become projectiles — this causes most spring injuries. Use two solid steel winding bars sized to the cone holes.
How do I know if my spring has the right tension?
Lift the door by hand to waist height with the opener disconnected. A correctly wound door stays put. If it drifts down, add a quarter-turn; if it flies up, remove a quarter-turn.
Why does my garage door open too fast or slam?
Too much spring tension makes the door fly up or slam. Carefully remove a quarter-turn of winding at a time until the door moves smoothly and stays balanced.
Is winding a garage door spring dangerous?
Yes. A wound torsion spring holds tremendous energy and a slipped winding bar can cause severe injury. If you lack proper bars or experience, hire a licensed technician.