 License: 1143915
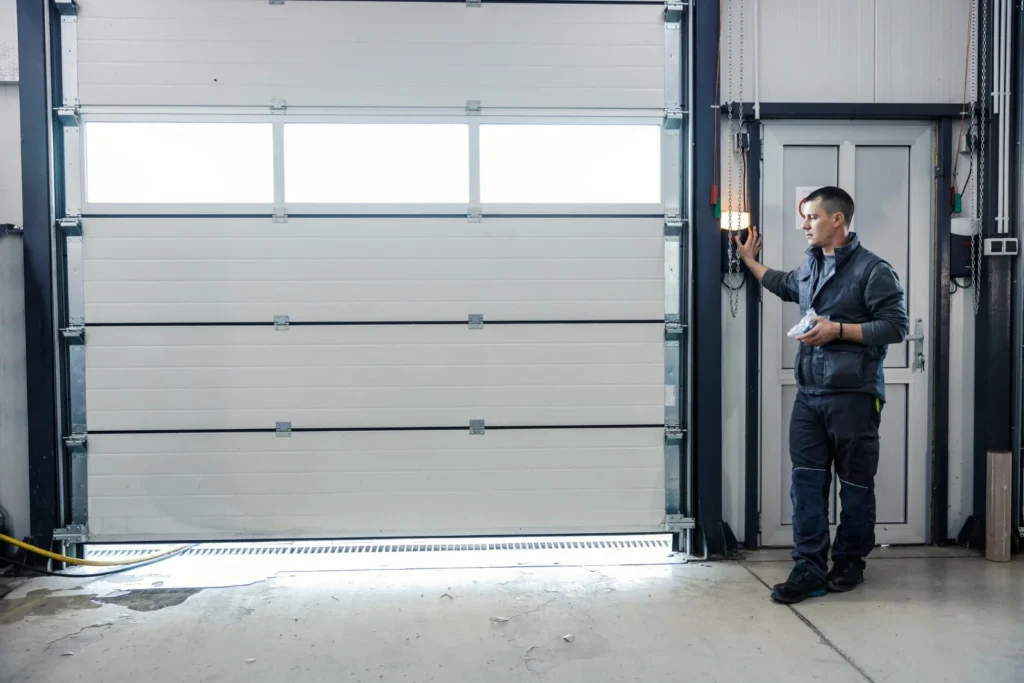
Garage Door Weather Seal: How to Replace the Bottom Seal & Weatherstrip
Every seal on your garage door, how to spot a worn one, and how to measure and replace the bottom seal, threshold, and weatherstrip.
Quick Answer
A garage door has four weather seals: the bottom seal, a floor threshold, side and top weatherstrip, and (on roll-up doors) brush seals. The bottom seal wears out most often. To replace it, identify your retainer type (T-style or bead), measure the door width and floor gap, and slide the new seal into the track. DIY parts run $15–$60; a professional full re-seal runs about $120–$300.
A worn garage door weather seal lets in rain, dust, heat, bugs, and rodents, and it drives up your energy bill. If you searched weather seal for garage door, this guide covers every seal on the door — the bottom seal, threshold, side and top weatherstrip, and brush seals — how to tell when each is worn, how to measure and replace the bottom seal yourself, realistic cost, and when it is smarter to call a pro. Sealing a garage door properly keeps the garage cleaner, more comfortable, and cheaper to heat and cool.
The Four Garage Door Weather Seals (and What Each Does)
A fully weatherproofed garage door has seals on all four sides. Knowing which one has failed tells you what to buy.
Bottom seal (astragal)
The rubber or vinyl strip along the bottom of the door that presses against the floor. It is the seal that fails most often because it takes the most wear and sun. Bottom seals slide into a retainer track (T-style or bead style) on the bottom of the door.
Threshold seal
A raised rubber strip glued to the garage floor. A threshold works with (or instead of) the bottom seal and is great for sloped or uneven floors and for keeping out driving rain and leaves.
Side and top weatherstrip
The flexible strip nailed to the door jamb and header that seals the gap between the door and the frame. On wood frames this is usually a wood-backed vinyl strip; on metal frames it is a flap seal.
Brush seals
Bristle seals used mostly on commercial and roll-up doors to block dust and drafts while still allowing smooth travel.
Bottom Seal Retainer Types Explained
The retainer is the aluminum track on the bottom of the door that holds the seal, and its shape decides which seal you can buy. There are three common types. A T-style retainer has two parallel channels and takes a seal with two T-shaped ridges — this is the most common on modern sectional doors. A bead or P-bulb retainer has round channels and takes a seal with beaded edges, often used where a taller, softer bulb is needed to fill a bigger gap. Older wood doors may have no retainer at all — the seal is nailed or stapled directly to the bottom of the wood door. Identify your retainer before buying, because a T-seal will not fit a bead track and vice versa.
Signs Your Garage Door Weather Seal Needs Replacing
- Daylight is visible under or around the closed door
- Water, leaves, or dust blow into the garage
- The bottom seal is cracked, flattened, brittle, or torn
- Rodents or insects are getting in
- The garage is noticeably hot, cold, or drafty
- The door meets the floor unevenly because the seal is worn on one side
How to Measure and Buy the Right Bottom Seal
Bottom seals are not universal. To buy the correct one, check three things:
- Retainer type. Look at the aluminum track on the bottom of the door. A T-style retainer takes a seal with two T-shaped ridges; a bead (or P-bulb) retainer takes a round-beaded seal. Aluminum retainers hold T-style; most modern doors use this.
- Door width. Measure the full width of the door and buy a seal a little longer so you can trim it. Standard single doors are about 8–9 feet; double doors 16 feet.
- Gap size. Measure the gap between the door and the floor when closed. Larger gaps need a taller seal or a bead-style bulb seal to fill the space.
How to Replace a Garage Door Bottom Seal
Replacing a T-style bottom seal is a manageable DIY job on most sectional doors:
- Open the door partway. Raise the door to about waist height so you can reach the bottom retainer, and unplug the opener so it cannot move.
- Pull out the old seal. Slide the old rubber strip out of one end of the aluminum retainer track. Clean the track of dirt and old debris.
- Lubricate the track. Spray a little silicone lubricant or soapy water in the retainer so the new seal slides in easily.
- Feed in the new seal. Line up the two T-ridges of the new seal with the two channels and feed it in from one end, pulling from the far side. Having a helper pull while you feed makes it far easier.
- Trim to length. Leave about an inch of overhang on each end and trim with a utility knife so the seal fully covers the corners.
- Close and check. Lower the door and look for an even seal against the floor with no daylight. If one side still gaps, a threshold seal can close the difference.

Replacing the Side and Top Weatherstrip
Side and top weatherstrip is nailed to the door frame. Pry off the old strip, cut new vinyl-backed weatherstrip to length, and nail it so the vinyl flap just touches the closed door — snug enough to seal but not so tight it binds the door. Replace all three sides at once for an even, weathertight fit.
Why Weather Sealing Matters in the Bay Area
South Bay weather is milder than most, but a garage door still faces real challenges here: winter rain that drives under the door, summer heat that turns an unsealed garage into an oven, fine dust that coats everything inside, and rodents and insects looking for a way in. If your garage is attached to the house or converted into a living space, gym, or office, an unsealed door leaks conditioned air and pushes your energy bill up year-round. A good set of seals keeps the space cleaner, quieter, more comfortable, and cheaper to heat and cool — which is why weather sealing is one of the highest-value, lowest-cost upgrades you can make to a garage door.
How to Seal a Garage Door for Winter
Before the rainy season, walk the door and check each seal in order:
- Check the bottom seal first. It takes the most abuse. If it is cracked, flattened, or lets in daylight, replace it before the rain starts.
- Add a threshold if water still gets in. On a sloped or uneven driveway, a floor threshold works with the bottom seal to block driving rain and leaves.
- Reseal the sides and top. Replace brittle weatherstrip so wind-driven rain cannot get around the edges of the door.
- Check the door balance. A door that closes crooked will never seal evenly — fix the balance or hardware before blaming the seal.
How to Fix Gaps on an Uneven Garage Floor
Concrete garage floors are rarely perfectly flat, so a standard bottom seal sometimes leaves a gap on one side. You have three good options: switch to a taller bulb-style (P-bulb) bottom seal that compresses more to fill the gap; add a rubber threshold seal glued to the floor to meet the door; or combine both a bottom seal and a threshold for the tightest result. For a gap that runs the full width evenly, a taller seal usually fixes it; for a gap that is worse on one corner, a threshold shaped to the floor is the better choice.
Threshold vs Bottom Seal: Which Should You Use?
A bottom seal attaches to the door and moves with it; a threshold attaches to the floor and stays put. Each has strengths. A bottom seal is cheaper, easier to replace, and does not create a lip you have to drive or roll over — it is the default for most doors. A threshold excels at keeping out driving rain, leaves, and pests, and it is the better fix when the floor is uneven or slopes toward the garage. For the tightest possible seal — say a converted garage or a home gym — use both: the bottom seal blocks the main gap and the threshold catches whatever gets past it. The only downside of a threshold is the small ramp it creates, which can catch a floor jack or low car.
Common Weather Seal Problems and Fixes
- Seal keeps sliding out of the track: the retainer ends are open — add a small screw or seal end-cap to lock it in.
- Gap only on one corner: the door is closing slightly crooked, or the floor dips there — a threshold shaped to the floor solves it.
- New seal is too stiff to feed in: warm it in the sun and lubricate the retainer with silicone or soapy water first.
- Seal wears out fast: grit and sun are the culprits — clean it and apply a silicone protectant twice a year.
How to Make Your Weather Seals Last
A few habits keep seals working for years. Wipe the bottom seal clean of grit so it stays flexible, apply a silicone-based protectant once or twice a year to keep the rubber from drying and cracking, and avoid petroleum products, which break rubber down. Keep the door balanced and the tracks aligned so the door meets the floor squarely and does not wear one edge of the seal faster than the other. With a little care, a quality bottom seal lasts several years even under Bay Area sun.
How Much Does Garage Door Weather Sealing Cost?
| Seal | Typical Cost (DIY parts) |
|---|---|
| Bottom seal (T-style, single door) | $15 – $40 |
| Threshold seal kit | $40 – $80 |
| Side & top weatherstrip (full door) | $25 – $60 |
| Professional full re-seal (labor + parts) | $120 – $300 |
For energy-efficiency guidance on sealing and weatherstripping, the U.S. Department of Energy’s Energy Saver resource is a solid reference. A properly sealed garage door pays for itself in comfort and lower energy costs.
When to Call a Professional
Call a pro if the door does not meet the floor evenly (that can be a track, cable, or panel problem, not just the seal), if the bottom retainer is damaged and needs replacing, or if you would rather not wrestle a 16-foot double-door seal solo. A technician replaces the seal, checks that the door closes square, and inspects the bottom section for damage. Our team handles weather sealing along with full garage door repair in Santa Clara, San Jose, and panel replacement across the South Bay.
Keep the Weather Out — We’ll Re-Seal Your Door
One Stop Garage Doors & Gates replaces bottom seals, thresholds, and weatherstrip and checks that your door closes tight across the South Bay. Same-day service, upfront pricing.
Call 650-910-6090What is the seal at the bottom of a garage door called?
It is called the bottom seal or astragal. It is a rubber or vinyl strip that slides into a retainer track on the bottom of the door and presses against the floor to keep out water, dust, and pests.
How do I know which garage door bottom seal to buy?
Check the retainer track on the bottom of the door: a T-style retainer takes a two-ridged T-seal, a bead retainer takes a round-beaded seal. Then measure the door width and the gap between the door and floor.
Can I replace a garage door weather seal myself?
Yes, a T-style bottom seal is a manageable DIY job — slide out the old seal, lubricate the track, and feed the new one in, ideally with a helper. Side and top weatherstrip is nailed on and also DIY-friendly.
How much does it cost to reseal a garage door?
DIY parts run about $15–$40 for a bottom seal, $40–$80 for a threshold kit, and $25–$60 for weatherstrip. A professional full re-seal with labor typically runs $120–$300.
Why is there a gap under my garage door?
The bottom seal is worn or the door is not closing square. A worn seal is a quick fix; an uneven gap can mean a track, cable, or bottom-panel problem that should be checked by a technician.
Do garage door weather seals help with energy bills?
Yes. Sealing the gaps around the door keeps conditioned air in and outside heat, cold, and drafts out, which lowers heating and cooling costs, especially for attached or converted garages.