 License: 1143915
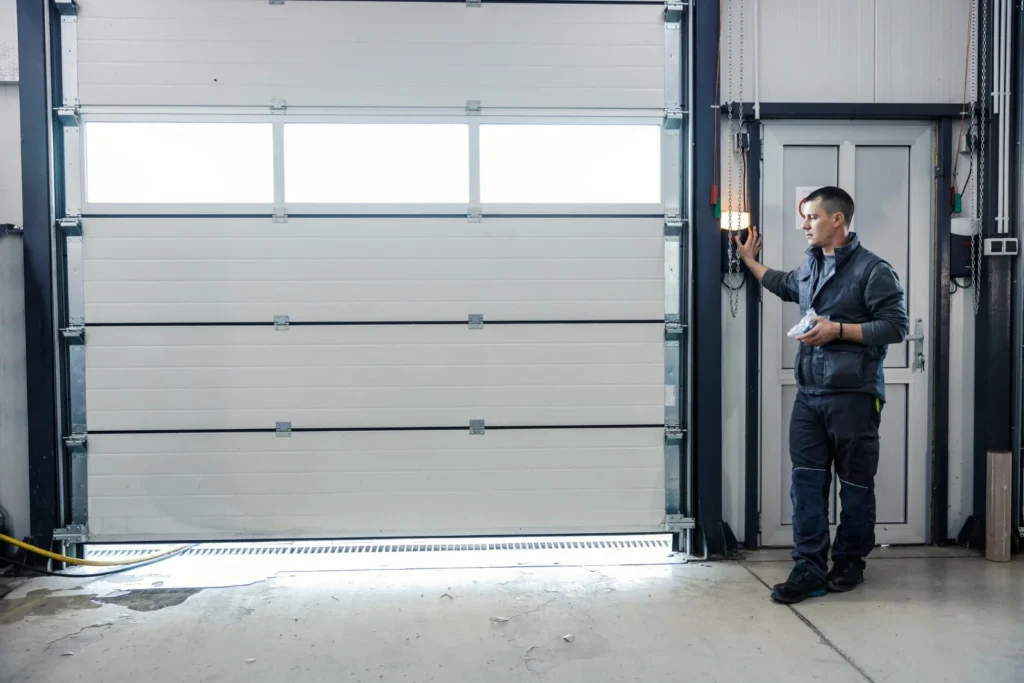
Garage Door Seal Types: How to Choose the Right One
Every seal type explained — bottom, threshold, side and top — plus how to identify your retainer so you buy one that actually fits.
Quick Answer
A garage door has four seals: bottom, threshold, side/top weatherstrip, and between-panel. The bottom seal is the one that fails most and the one people buy wrong — it must match your retainer. Two square channels = T-style; round channels = bead / P-bulb; no retainer = nail-on. Measure the floor gap too: over about half an inch, use a taller bulb profile. Choose EPDM rubber over vinyl for sun-exposed doors.
Most people only think about garage door seals when water runs in or they can see daylight under the door. But there isn’t one “garage door seal” — there are four separate seals doing different jobs, and the bottom seal alone comes in several incompatible profiles. Buy the wrong one and it simply won’t fit the retainer on your door. This guide covers every garage door seal type, how to identify which you have, and how to choose. If you already know your type and just want the replacement steps, see our garage door weather seal replacement guide.
The Four Seals on a Garage Door
A fully sealed door has all four. Most doors we see have one or two that have failed.
- Bottom seal (astragal) — the strip along the bottom of the door that presses to the floor. Does the most work and fails most often.
- Threshold seal — a rubber strip bonded to the floor itself, working with or instead of the bottom seal.
- Side and top weatherstrip — nailed to the door jamb and header, sealing the gap between door and frame.
- Between-panel seals — the flexible joint between each section, which most people never think about until wind drives rain through it.
Bottom Seal Types (Where Most People Buy Wrong)
This is the critical one. The seal slides into an aluminium retainer on the bottom of the door, and the retainer’s shape dictates which seal profiles fit. Check the retainer before ordering anything.
T-Style (T-Ends / Double-T)
The most common on modern sectional doors. The retainer has two parallel channels, and the seal has two T-shaped ridges that slide in from one end. If you look at the end of the retainer and see two slots side by side, you have T-style. Available in various heights — taller profiles close bigger gaps.
Bead / P-Bulb
The retainer channels are round rather than square, and the seal has beaded edges. The “P-bulb” name comes from the profile: a round bulb that compresses against the floor. Excellent where the floor is uneven, because the bulb deforms to follow the surface rather than bridging over dips.
U-Shape / J-Type
Single-channel profiles found on older doors and some roll-up doors. A U-shape seal folds up into a single retainer slot; a J-type has one hooked edge. Neither fits a T-style retainer, which is why “universal” seals so often disappoint.
Bulb Seal (Deep Gap)
A taller, hollow bulb for doors with a genuinely large gap — typically an inch or more. It compresses substantially, so it seals where a standard T-seal would leave a visible line of daylight.
Nail-On (No Retainer)
Older wood doors often have no retainer at all — the seal is nailed or stapled directly to the bottom of the door. Replacement is straightforward but the fixings eventually split the timber, so check the bottom rail condition while you’re there.
Threshold Seals
A threshold bonds to the garage floor rather than the door. It creates a small ramp that the door closes against, and it’s the most effective answer to three specific problems: a driveway that slopes toward the garage, a floor that has settled unevenly, and driving rain that gets under a standard seal.
The trade-off is the ramp itself. It’s a lip you drive and roll over, which can catch a low floor jack or a very low car. Many homeowners use a threshold and a bottom seal together for the tightest result — the bottom seal handles the main gap and the threshold catches whatever gets past it.
Side and Top Weatherstrip Types
These seal the perimeter between the door and the frame. Three common types:
- Wood-backed vinyl — a vinyl flap on a wooden strip, nailed to the jamb. Traditional, inexpensive, and easy to replace, but the timber can rot in exposed positions.
- Flap / bulb weatherstrip — flexible vinyl or rubber that mounts direct to metal or wood frames. Better for damp or exposed openings.
- Brush seal — bristles rather than a flap. Mostly commercial and roll-up doors, where a flap would catch on a coiling curtain.
The flap should just touch the closed door. Fitted too tight it binds the door and strains the opener; too loose and it seals nothing.
Seal Materials — and Which Lasts
The profile decides fit; the material decides how long it lasts.
- EPDM rubber — the best all-round choice. Stays flexible across a wide temperature range and resists UV well, which matters on a sun-facing Bay Area door.
- Vinyl / PVC — cheapest and widely available, but it stiffens with age and UV exposure, and a stiff seal stops conforming to the floor.
- TPE (thermoplastic elastomer) — a good middle ground, flexible and reasonably UV stable.
- Silicone — the most temperature stable and longest lasting, at the highest price. Overkill for most homes here.
In our climate the enemy is sun, not frost. A cheap vinyl seal on a west-facing door can go hard and cracked within a few seasons, while EPDM keeps working.
How to Choose the Right Seal
- Identify the retainer. Look at the end of the aluminium track on the bottom of the door. Two square channels means T-style; round channels mean bead. No retainer means nail-on.
- Measure the gap. Close the door and measure the largest gap between door and floor. Under half an inch, a standard seal works. More than that, go to a bulb or taller profile.
- Check whether the gap is even. If it’s much bigger at one corner, that’s a floor or door-alignment issue — a threshold shaped to the floor usually beats a taller seal.
- Measure the door width. Buy a little long and trim; leave about an inch of overhang at each end to seal the corners.
- Choose the material. EPDM for a sun-exposed door, vinyl only if budget is the priority and the door is shaded.
Signs a Seal Needs Replacing
- Daylight visible under or around the closed door
- Water, leaves, or dust blowing in
- The seal is cracked, flattened, brittle, or torn
- Rodents or insects getting in
- The garage is noticeably drafty, hot, or cold
- The seal no longer springs back when you press it
Between-Panel Seals
Each joint between sections has its own flexible seal, designed to close as the panels straighten. They rarely fail outright, but on older doors they harden and allow wind-driven rain through the joints even when the bottom seal is perfect. If you have water coming in mid-door rather than at the floor, this is why — and it’s usually a sign the door itself is nearing the end of its life.
Common Mistakes When Buying a Seal
- Buying by door brand instead of retainer type. The retainer decides fit, not who made the door. Two identical-looking doors can take different profiles.
- Assuming “universal” means universal. Most universal seals are T-style. On a bead retainer they simply won’t seat.
- Measuring the door instead of the gap. Width tells you length to buy; the gap tells you which height profile you need.
- Cutting it exactly to width. Leave roughly an inch of overhang each end — corners are where wind and water get in.
- Choosing vinyl for a sun-facing door. It hardens and cracks fastest exactly where the door gets most exposure.
- Ignoring the retainer’s condition. A bent or corroded retainer won’t hold any seal properly, however good the rubber is.
Do Seals Actually Save Money?
On a detached, unconditioned garage, sealing is mostly about keeping water, dust, leaves, and rodents out — worthwhile, but not an energy story. On an attached garage, or one converted to an office, gym, or ADU, it’s different: the door is the largest opening in the room, and an unsealed perimeter undoes whatever insulation the door itself provides. Pairing an insulated door with a full seal set is what actually makes a converted space comfortable, and it’s the combination we recommend rather than either alone.
Commercial and Roll-Up Door Seals
Rolling steel and coiling doors use different sealing altogether. Because the curtain coils into a barrel, a rigid flap would catch, so these doors typically use brush seals on the guides and a bottom astragal on the bottom bar. High-cycle commercial doors wear seals far faster than residential ones simply through use, which is why seal checks belong in any commercial maintenance schedule.
When to Call a Professional
Replacing a T-style bottom seal is a genuinely manageable DIY job. Call a technician when the gap is uneven across the width (a door alignment or track problem, not a seal problem), when the retainer itself is damaged and needs replacing, when the bottom rail is rusted or rotted, or when you’d simply rather not wrestle a 16-foot double-door seal on your own. We handle seals alongside full garage door repair in Santa Clara and San Jose.
Sealed Properly, First Time
We identify your retainer type, fit the right seal and threshold, and check the door closes square so it actually seals. Same-day service across the South Bay.
Call 650-910-6090What are the different types of garage door seals?
Four: the bottom seal (astragal) on the door, a threshold seal bonded to the floor, side and top weatherstrip on the frame, and between-panel seals at each section joint.
What is a T-style garage door seal?
The most common bottom seal. The aluminium retainer has two parallel square channels and the seal has two T-shaped ridges that slide in from one end. Look at the end of the retainer — two slots side by side means T-style.
What’s the difference between T-style and bead seals?
It’s the retainer shape. T-style has square channels and a two-ridge seal; bead (P-bulb) has round channels and beaded edges. They aren’t interchangeable, which is why a ‘universal’ seal often won’t fit.
How do I know which seal I need?
Check the retainer on the bottom of the door (square channels, round channels, or none), measure the gap between door and floor, and measure the door width. Those three things determine the correct seal.
What if the gap under my door is really big?
Use a taller bulb-style seal, add a threshold, or both. If the gap is much larger at one corner, that’s a door alignment or floor problem rather than a seal problem and should be checked.
What material lasts longest?
EPDM rubber. It stays flexible and resists UV far better than vinyl, which matters on a sun-exposed Bay Area door. Silicone lasts longest but is usually more than a home needs.
Do I need a threshold seal as well?
Not always. Thresholds are worth it if your driveway slopes toward the garage, the floor has settled unevenly, or driving rain gets under a standard seal. Many people use both for the tightest result.
How often should garage door seals be replaced?
There’s no fixed interval — replace when the seal is cracked, flattened, brittle, or letting light and water through. Sun exposure is the main factor in how quickly that happens.
Can I replace a garage door seal myself?
A T-style bottom seal is a manageable DIY job. Call a technician if the retainer is damaged, the bottom rail is rusted or rotted, or the gap is uneven across the width.